
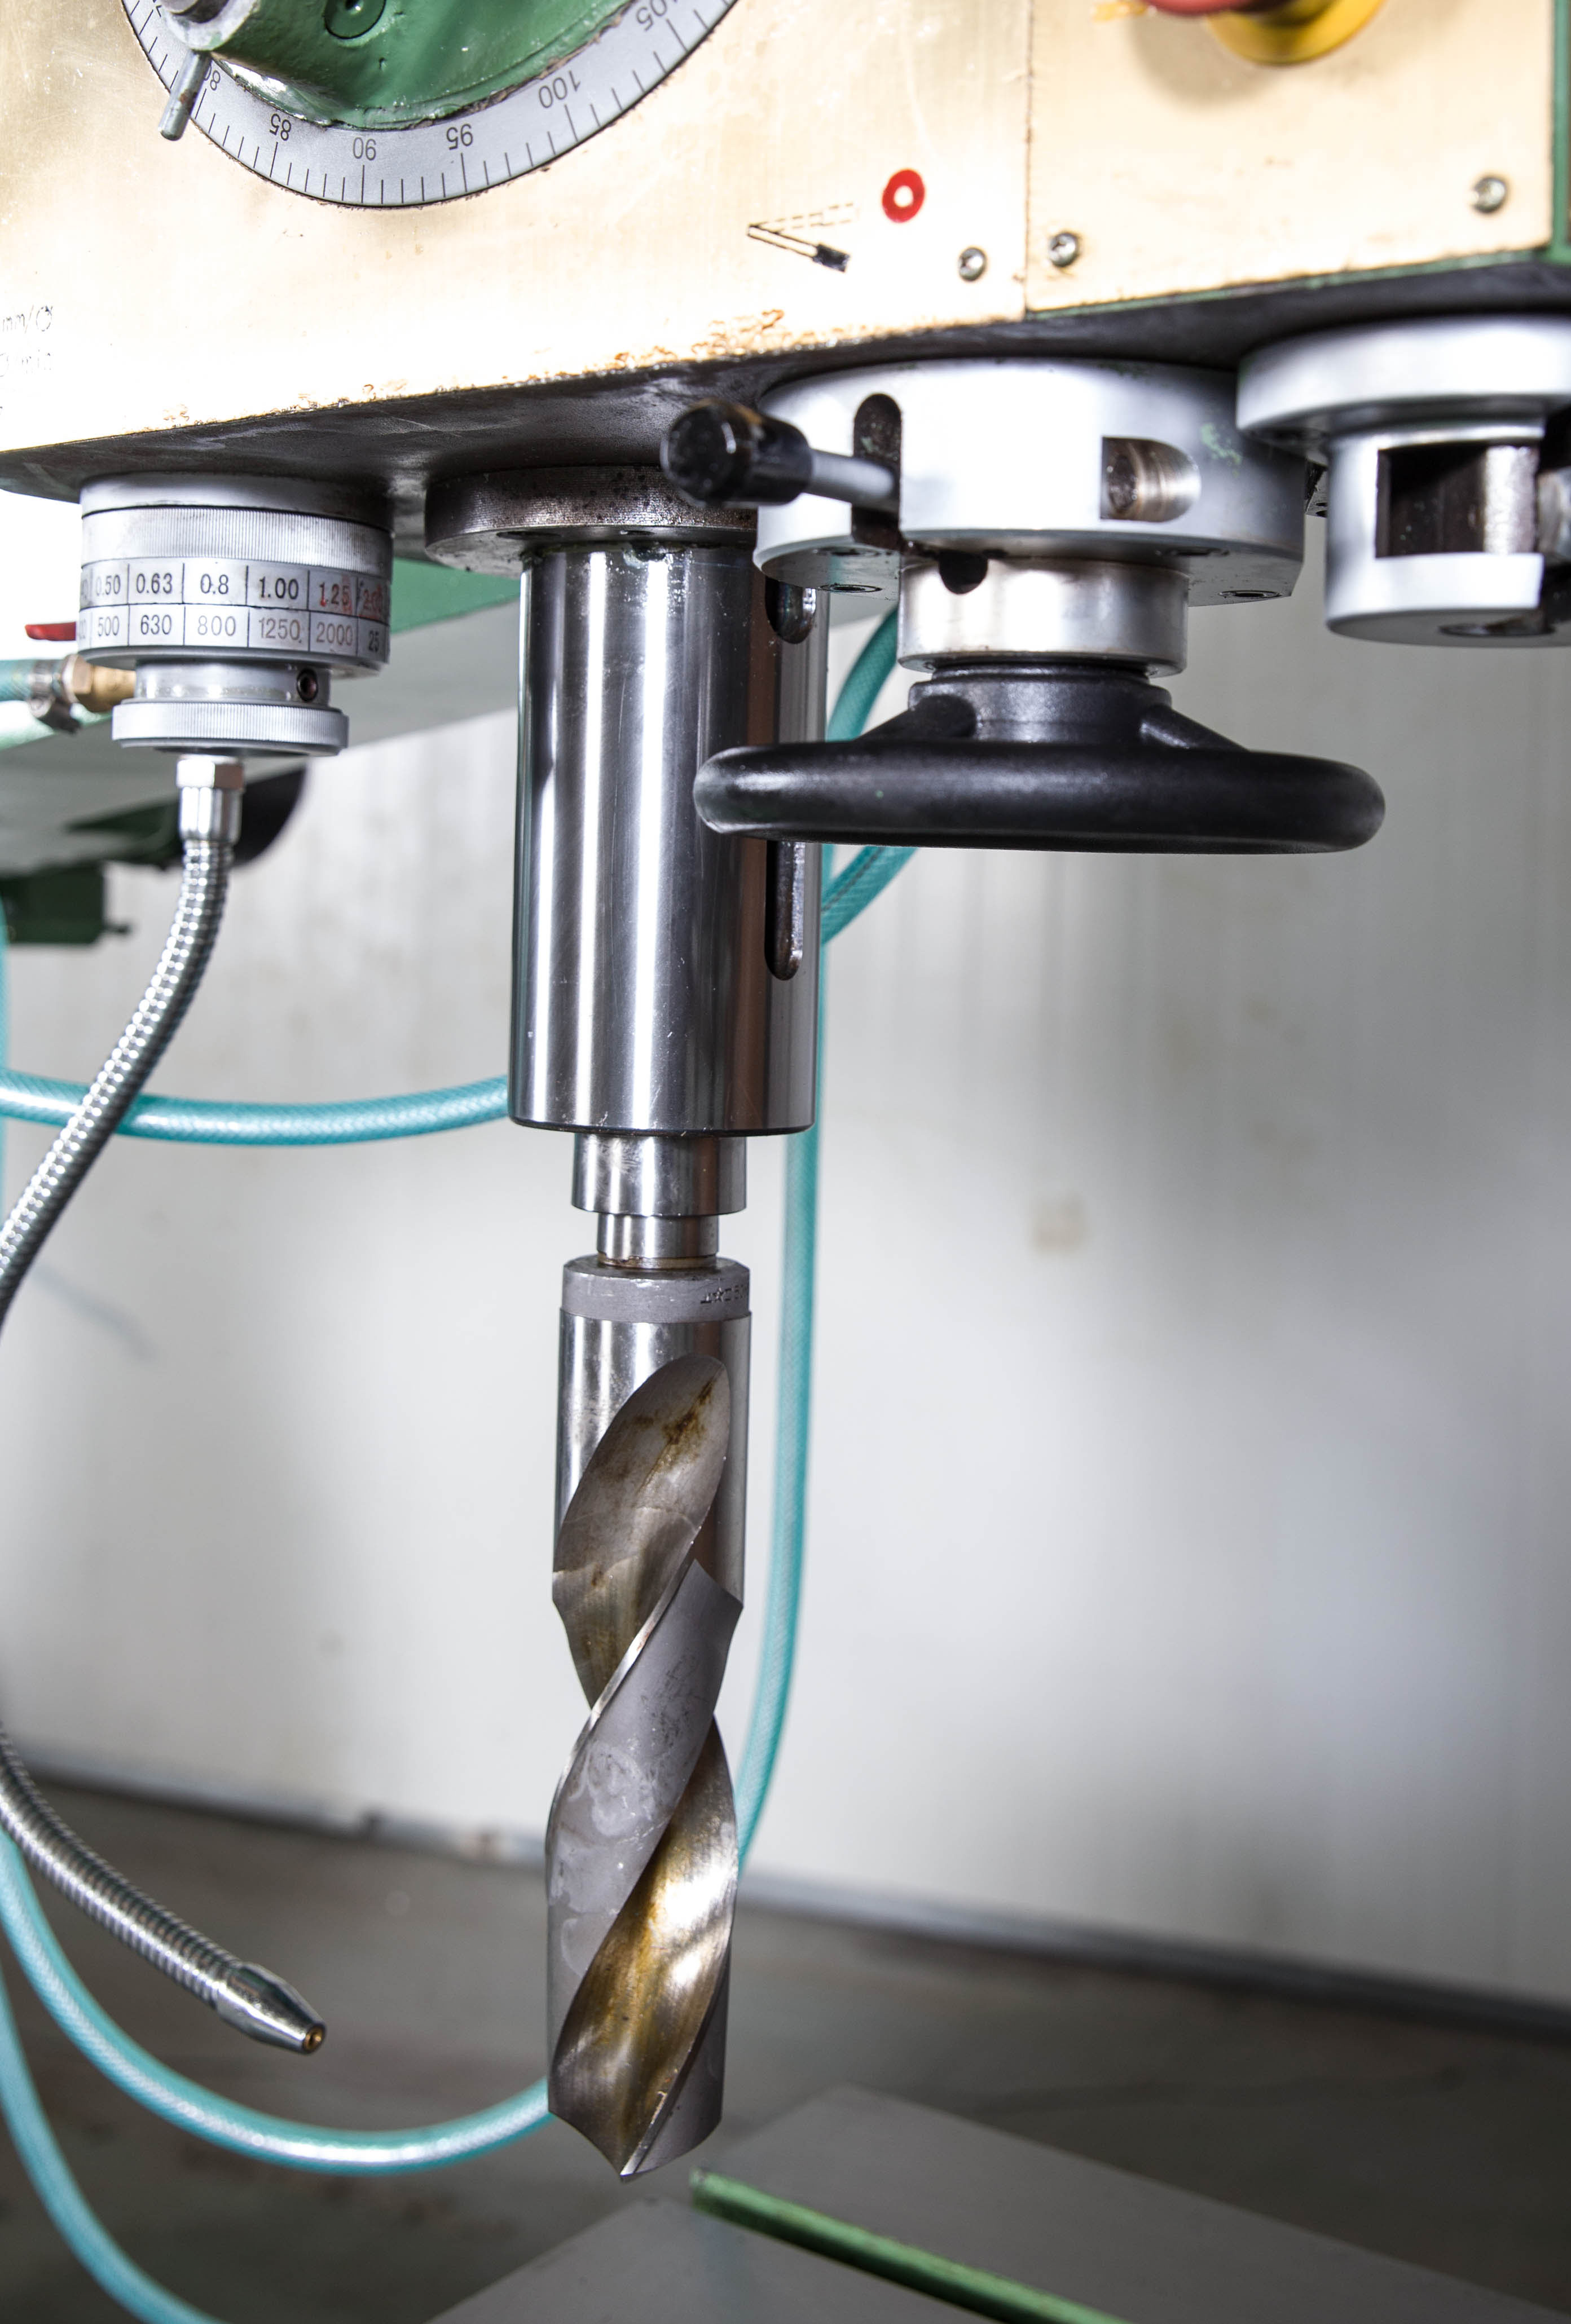
Why Your Drill Bits Keep Breaking?: A Guide to Troubleshooting Radial Runout in Radial Drilling machine
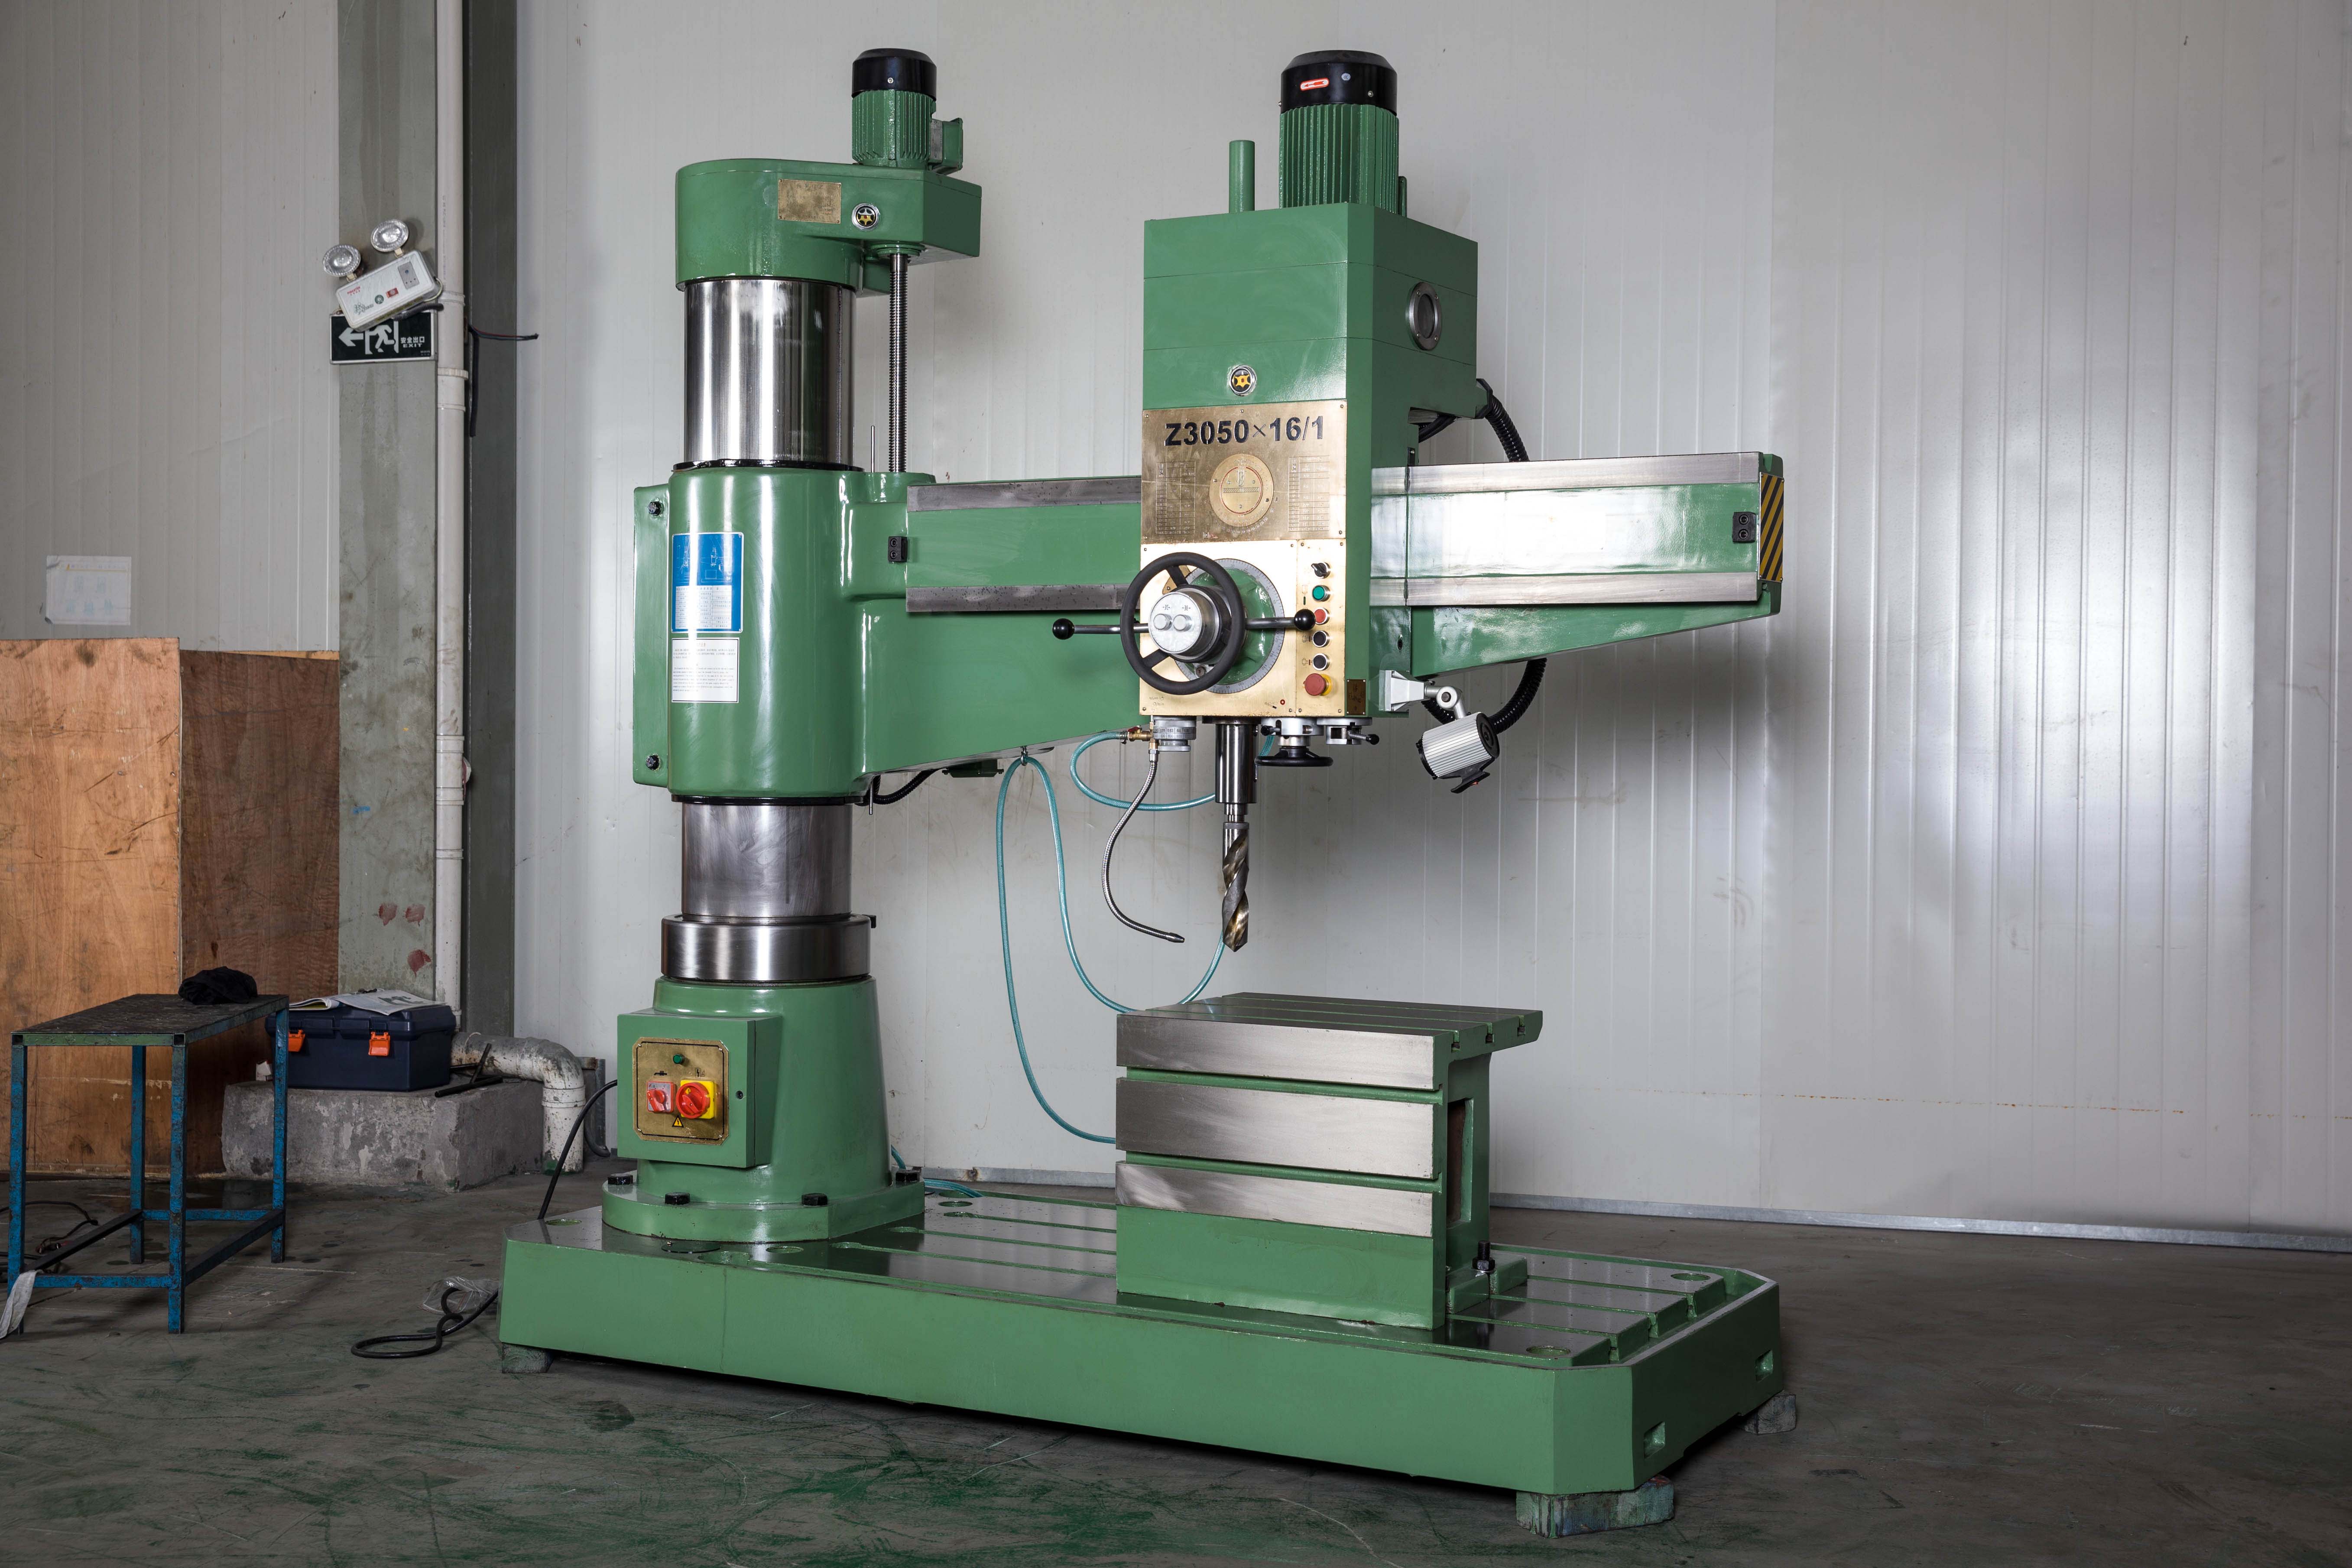
In a machine shop, the radial drilling machine is the backbone of hole-making processes. However, operators often face a frustrating cycle: frequent drill bit breakage, off-center holes, and rough surface finishes.
While many blame the drill bits or the machine settings, over 80% of these issues stem from a neglected problem: Drill Chuck Radial Runout (eccentricity). This guide will help you diagnose, fix, and prevent runout issues to improve your drilling precision and extend tool life.
 |
|
1. The Core Issue: Why Does Eccentricity Break Drill Bits?
"Concentricity" refers to how well the drill bit aligns with the machine spindle’s rotation axis. When the chuck is not centered, the drill wobbles as it rotates, creating radial runout.
This leads to three major problems:
Stress-Induced Breakage: The drill bit is subjected to constant side-to-side stress. This causes chipping or snapping, especially with smaller bits.
Poor Accuracy: Holes become oversized, off-center, or have a wavy surface finish, leading to higher scrap rates.
Machine Wear: The vibration accelerates wear on the chuck jaws, spindle bearings, and gears, creating a vicious cycle of increasing inaccuracy.
Industry Standard: For radial arm drills, the radial runout measured 30-50mm from the chuck face should be ≤ 0.03mm. Anything above this needs adjustment.
2. Quick Check: Is it Runout or Something Else?
Don’t waste time adjusting settings if the root cause is mechanical. Use this table to diagnose the issue:
| Feature | Standard Cutting Issue | Radial Runout Issue |
| Breakage Pattern | Clean snap or top edge chip | Broken in the spiral groove; uneven wear |
| Hole Quality | Clean, accurate size | Wavy walls, oversized, off-center |
| Persistence | Improves with setting changes | Broken bits continue regardless of settings |
| Observation | Machine runs smooth | Visible wobbling when spinning |
3. Step-by-Step: How to Measure Runout
You don't need expensive equipment—just a dial indicator and a precision test bar.
Clean: Thoroughly clean the chuck jaws and remove any metal chips or oil. A dirty chuck will give false readings.
Setup: Insert the precision test bar into the chuck and tighten securely.
Position: Mount your dial indicator on the drill table so the tip touches the test bar (30-50mm away from the chuck).
Rotate: Slowly rotate the spindle by hand one full turn.
Calculate: Note the difference between the highest and lowest reading on the dial indicator. This is your Total Indicated Runout (TIR).
4. Why Does Runout Occur?
Debris & Grime: Metal chips or dried oil inside the chuck jaws prevent even gripping.
Poor Handling: Using a hammer to hit the chuck or drill bit damages the precision alignment.
Worn Components: Over time, chuck jaws and internal springs lose their ability to center the bit.
Spindle Issues: Worn spindle bearings or a damaged taper can cause the entire chuck to wobble.
Incorrect Setup: Using mismatched adapters or failing to seat the drill bit fully.
5. Solutions: Fixing the Problem
Minor Runout (≤ 0.08mm): Clean the chuck thoroughly with a solvent. Reinstall and ensure even tightening. If needed, use a soft mallet to gently tap the chuck into better alignment while checking the dial indicator.
Moderate Runout (0.08mm - 0.15mm): Replace the chuck jaws or the internal spring. This is often more cost-effective than replacing the entire chuck.
Severe Runout (> 0.15mm): The chuck itself or the spindle may be damaged. Replace the chuck, or inspect the spindle bearings and taper for mechanical failure.
6. Best Practices for Prevention
Clean Daily: Remove chips and oil from the chuck before every shift.
Standardize Setup: Ensure the drill bit is inserted fully and gripped evenly.
Avoid Force: Never strike the chuck or drill bit with a steel hammer; use a soft-faced mallet if necessary.
Routine Checks: Make it a monthly habit to check runout with a dial indicator.
Use Quality Parts: Avoid non-standard or cheap adapters that don't fit precisely.
Summary: Before you replace another broken drill bit, check your chuck’s alignment. By maintaining proper concentricity, you will save money on tooling, reduce scrap, and keep your radial arm drill running smoothly for years to come.
Do you have a specific machine model you are currently troubleshooting, or would you like to see a list of recommended tools for this type of maintenance?
At MFG Machinery, we specialize in precision machining solutions and high-performance tooling optimization. Whether you are looking to upgrade your workshop capabilities or require custom-engineered precision components, our team of experts is ready to assist.
Contact Us Today:
Website: www.mfg-machinery.com
Email: info@mfg-machinery.com
Address:Buildings 1-4, No. 408 South Yunzao Road, Baoshan District, Shanghai