
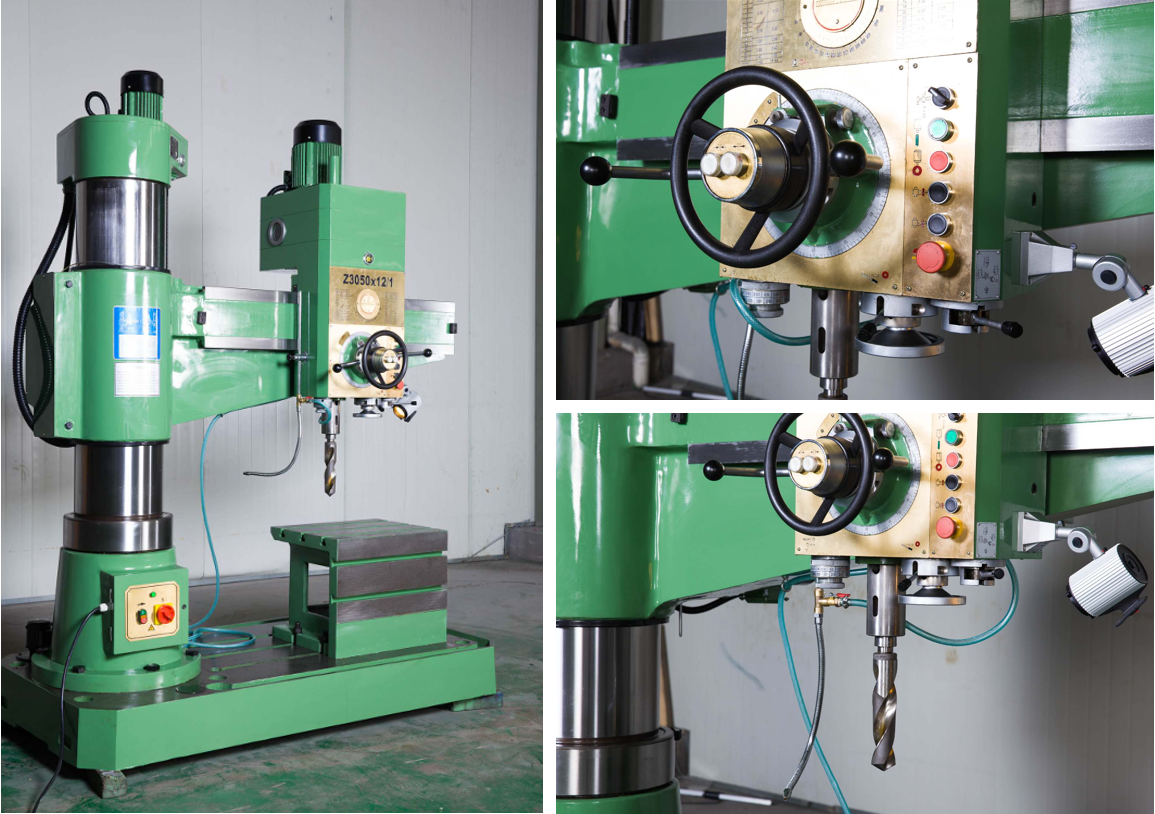
Poor hole accuracy on a radial drilling machine is not always caused by the spindle. A loose workpiece, weak arm locking, worn guide parts, incorrect speed, poor chip removal, or a damaged drill bit can produce similar results.
Start with the simple checks: clamp the workpiece, lock every moving part, inspect spindle play, set the correct speed, and make sure coolant reaches the drill point. For large or deep holes, stable low-speed power and good chip removal are more important than high spindle speed.
The First Sign Is Often a Small Change
Most drilling problems do not appear all at once. The operator may first notice a rough sound, a slightly larger hole, or more burr around the hole edge.
A few jobs later, the machine begins to show clearer problems:
- The drill moves away from the marked center.
- Holes are not vertical.
- The spindle vibrates during large-hole drilling.
- Drill bits wear on one side.
- The workpiece moves under cutting force.
- Deep holes require frequent stops to remove chips.
- The operator spends more time setting up than drilling.
Changing the drill bit may give a short improvement. If the fault returns, the machine setup and operating method need to be checked.
Four Checks Before Replacing Parts
1. Is the Workpiece Firmly Clamped?
A heavy part can still move. Weight alone is not a safe clamping method.
Steel plates, flanges, cast parts, and welded structures should be supported on stable points and fixed with suitable clamps. If the part has an uneven base, add solid support blocks before tightening it.
A moving workpiece can cause an oversized hole, a broken drill bit, or a serious safety accident. Clamping should always be checked before spindle or gearbox adjustments.
2. Are the Arm and Head Fully Locked?
The radial arm, column, and spindle head must remain fixed during drilling. Even small movement can change the hole position.
Check whether:
- The arm drops after it is set.
- The spindle head moves under hand pressure.
- The column turns after locking.
- Hydraulic locking pressure remains stable.
- Oil leakage is visible near the locking system.
Do not continue drilling large holes if a locking point is loose. Higher cutting force will make the movement worse.
3. Is the Speed Suitable for the Hole?
Large drill bits need a lower spindle speed than small drill bits. Hard steel also needs a lower cutting speed than mild steel.
A speed that is too high produces heat and fast edge wear. A speed that is too low, together with very light feed, may cause the drill to rub instead of cut.
Look at the chips:
- Short, even chips usually show a stable cut.
- Fine powder may mean the tool is rubbing.
- Blue chips show too much heat.
- Long chips wrapped around the drill need to be removed safely.
Stop the spindle before clearing chips. Never use bare hands.
4. Does Coolant Reach the Cutting Edge?
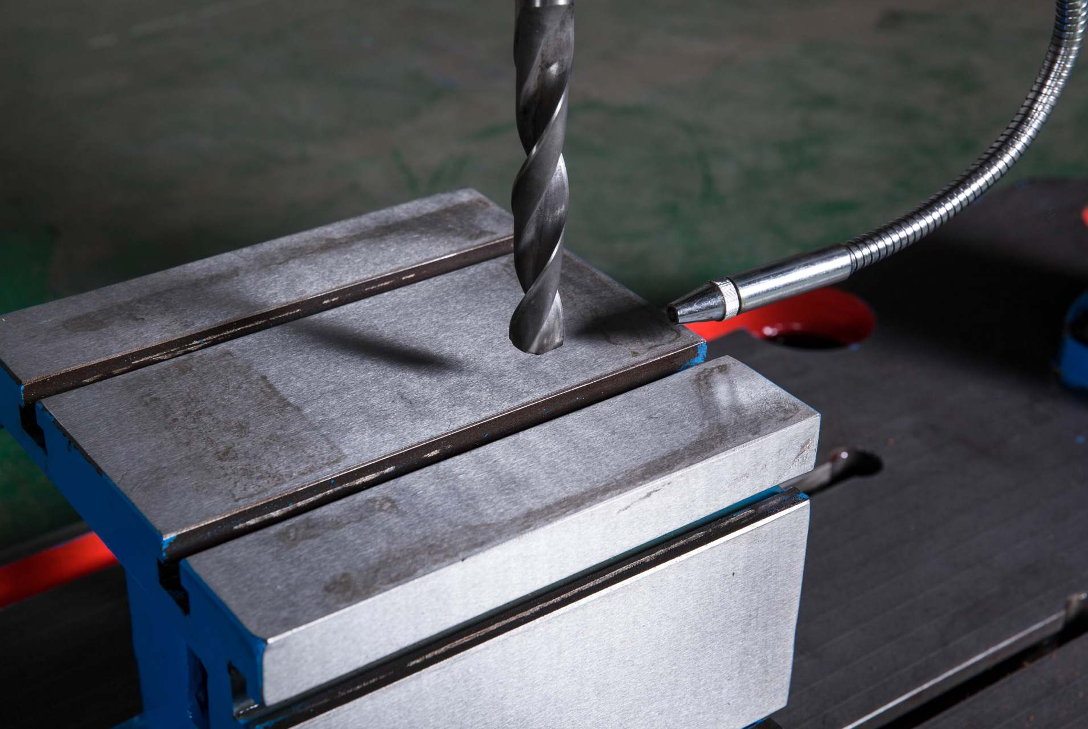
Coolant must reach the point where the drill meets the material. Coolant flowing around the hole but not into it gives little help.
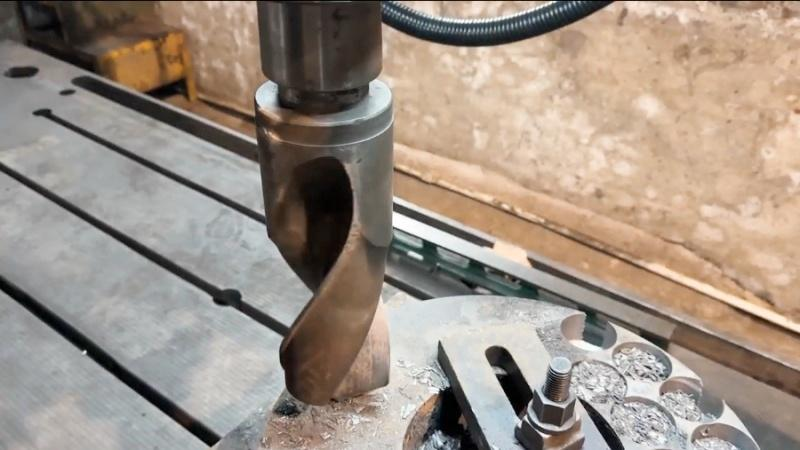
For deep holes, withdraw the drill at planned intervals so chips can leave the hole. Chips trapped at the bottom increase heat and may damage the drill edges.
Radial Drilling Machine Troubleshooting Table
| Workshop symptom | More likely cause | First action |
|---|---|---|
| Hole position moves | Loose workpiece or unlocked spindle head | Check clamps and all locking points |
| Hole is larger than required | Spindle play, worn drill, or tool runout | Measure spindle movement and inspect the tool |
| Hole is not vertical | Uneven workpiece support or arm movement | Level the workpiece and test arm locking |
| Drill bit wears on one side | Spindle runout or incorrect drill grinding | Check tool holding and both cutting edges |
| Strong vibration on large holes | Speed is too high or machine support is weak | Lower the speed and improve workpiece support |
| Drill bit breaks in a deep hole | Chips are trapped or feed is too high | Withdraw the drill more often and reduce feed |
| Arm slowly drops | Lift or locking system needs adjustment | Stop work and inspect the locking system |
| Motor slows during drilling | Excessive feed or low-speed power is not enough | Reduce feed and check the selected speed range |
| Coolant does not enter the hole | Nozzle position is incorrect | Aim the nozzle at the cutting edge |
| Setup takes too long | Poor lifting, support, or clamping arrangement | Improve the work area before changing the machine |
Why Large Workpieces Take So Long to Set Up
The drilling cycle may last only a few minutes, while lifting, leveling, measuring, and clamping can take much longer.
This is common with machine bases, steel frames, pressure parts, flanges, and repair work. The operator must move the arm and spindle head to the hole because the workpiece is too large to move easily.
A practical work area should include:
- Enough lifting space above the machine
- Suitable clamps and support blocks
- A clean base or worktable
- Safe access around the workpiece
- Clear space for the arm to turn
- Lighting near the drilling point
When comparing metalworking machinery from MFG Machinery, buyers should consider workpiece weight and setup space as well as maximum drilling diameter.
Drill Bit Life Depends on More Than Tool Quality
When a drill bit fails early, the tool supplier is often blamed first. The real cause may be the machine or the setup.
Common causes of short drill bit life include:
- Incorrect spindle speed
- Excessive or uneven feed
- Poor drill grinding
- Weak coolant flow
- Spindle runout
- Loose tool holding
- Hard scale on the workpiece
- Chips trapped inside a deep hole
Record the material, hole size, speed, feed, and number of holes made by each tool. This simple record helps the workshop find repeated problems instead of changing settings by guesswork.
Market Insight: Buyers Are Looking Past Maximum Drilling Diameter
Maximum drilling diameter is easy to compare, but it does not explain how a machine will perform during daily work.
Machine shops now ask more specific questions:
- Can the machine hold low speed under a heavy cut?
- Does the arm remain fixed when drilling a large hole?
- How quickly can the spindle head be moved and locked?
- Are common hydraulic and electrical parts easy to replace?
- Can the machine support tapping, reaming, and counterboring?
- Is there enough working range for the actual part?
- Can the supplier give useful speed and feed guidance?
These questions are important because many radial drills spend more time on mixed repair work and large one-off parts than on repeated standard holes.
A Practical Buying Checklist
Before selecting a radial drilling machine, prepare the following information:
1. Maximum hole diameter in steel
2. Common hole sizes used each week
3. Maximum distance from the column to the hole center
4. Workpiece height and weight
5. Material type and hardness
6. Need for drilling, tapping, reaming, or counterboring
7. Required spindle travel
8. Available lifting and floor space
9. Local electrical supply
10. Required clamps, table, or base plate
The largest machine is not always the right machine. The correct choice should match the normal workpiece, while leaving reasonable space for larger jobs.
Stable drilling starts before the spindle turns. The workpiece must be supported and clamped, the arm and head must be locked, and the drill must match the material and hole size.
When accuracy changes, check one condition at a time. This is faster and more reliable than replacing several parts without finding the cause.
For radial drilling machine selection or help with a drilling application, contact MFG Machinery:
Email: info@mfg-machinery.com